Follow these instructions to change settings in a Mail account you have already set up.
Sierra and High Sierra
Editing Incoming/Outgoing settings in Sierra and High Sierra
These instructions have been tested up to Mail version 11.5 and High-Sierra 10.13.6.
- Open the Apple Mail application by clicking Mail in the top menu bar.
- Select the Preferences option.
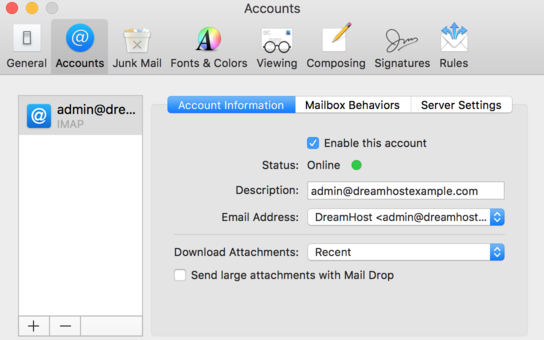
- The Accounts page opens:
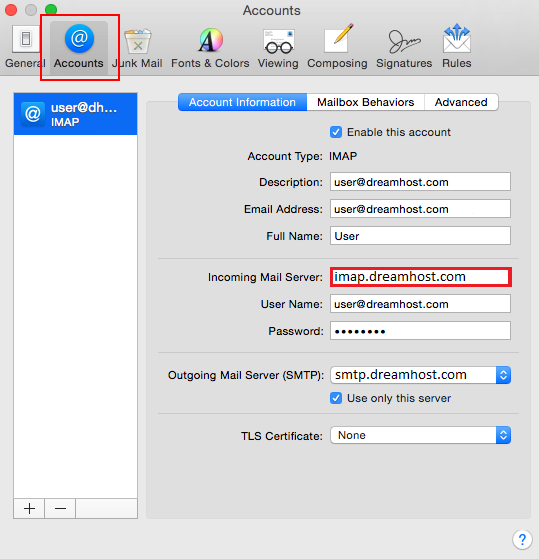
- Click the @ Accounts option in the top bar.
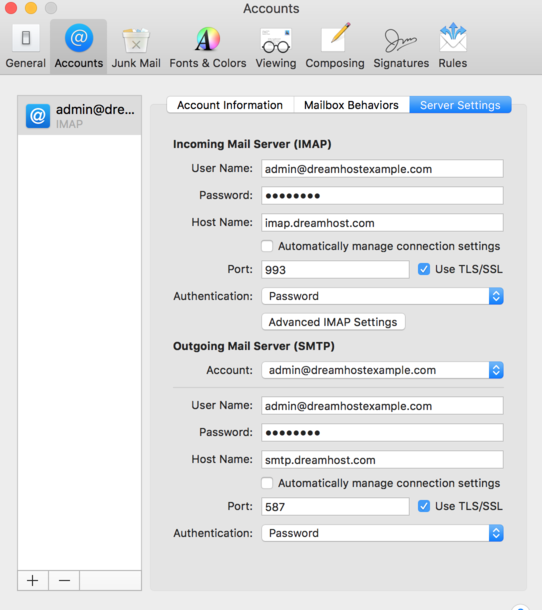
- Click the ‘Server Settings’ tab.
- Edit the Host Name fields to match the one we’ve sent you.
- To edit the Incoming/Outgoing ports, UN-check ‘Automatically manage connection settings‘. The ‘Port’ field and ‘Use TLS/SSL’ checkbox then appear.

El Capitan
Editing existing Incoming settings in El Capitan
- Open the Apple Mail application by clicking Mail in the top menu bar.
- Select the Preferences option.
- The Accounts page opens:
- Here you can edit the incoming server name. View the Email Server name table to ensure you’re using the correct server name. It is mail.domain.com .
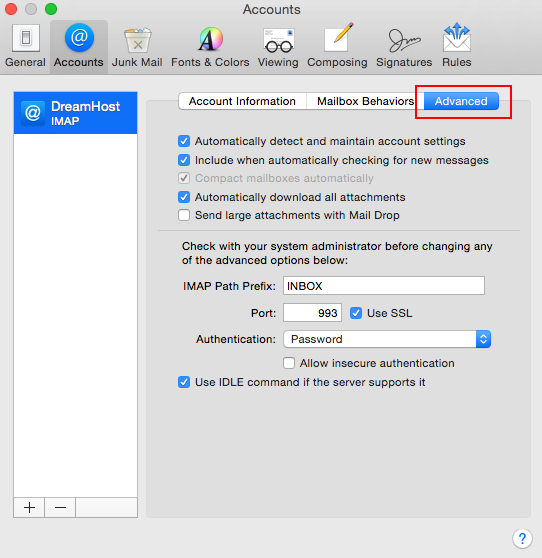
- To edit the port number, click the @ Accounts option in the top bar.
- Click the Advanced tab in the upper right.
- Edit the incoming Port number and enable/disable SSL by selecting/deselecting the Use SSLbox, as needed.
Editing pre-existing SMTP (Outgoing) settings in El Capitan
- Open the Apple Mail application by clicking Mail in the top menu bar.
- Select the Preferences option.
- The Accounts page opens:
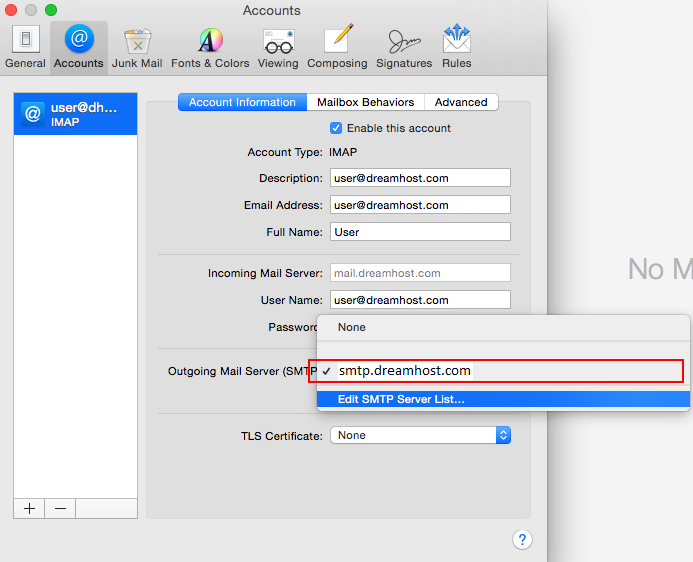
- Click the @ Accounts option in the top bar. Select- smpt.domain.com
- Select your outgoing mail server from the available options within the Outgoing Mail Server (SMTP) drop-down list. This should be smtp.dreamhost.com.
- Click the drop-down again and select Edit SMTP Server List…
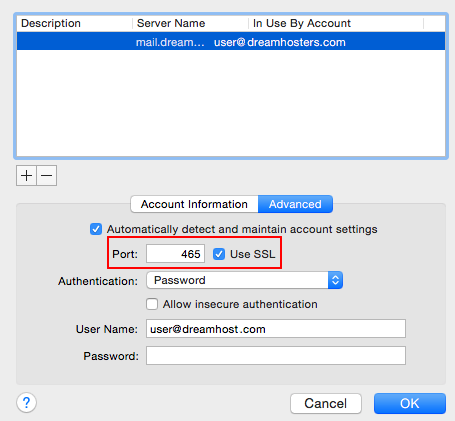
- The Account Information page opens:
- Click the Advanced tab.
- Edit the incoming SMTP Port number and enable/disable SSL by selecting/deselecting the Use SSL box, as needed.
- Make sure ‘Password’ is selected in the ‘Authentication’ drop-down.